
Cart
0
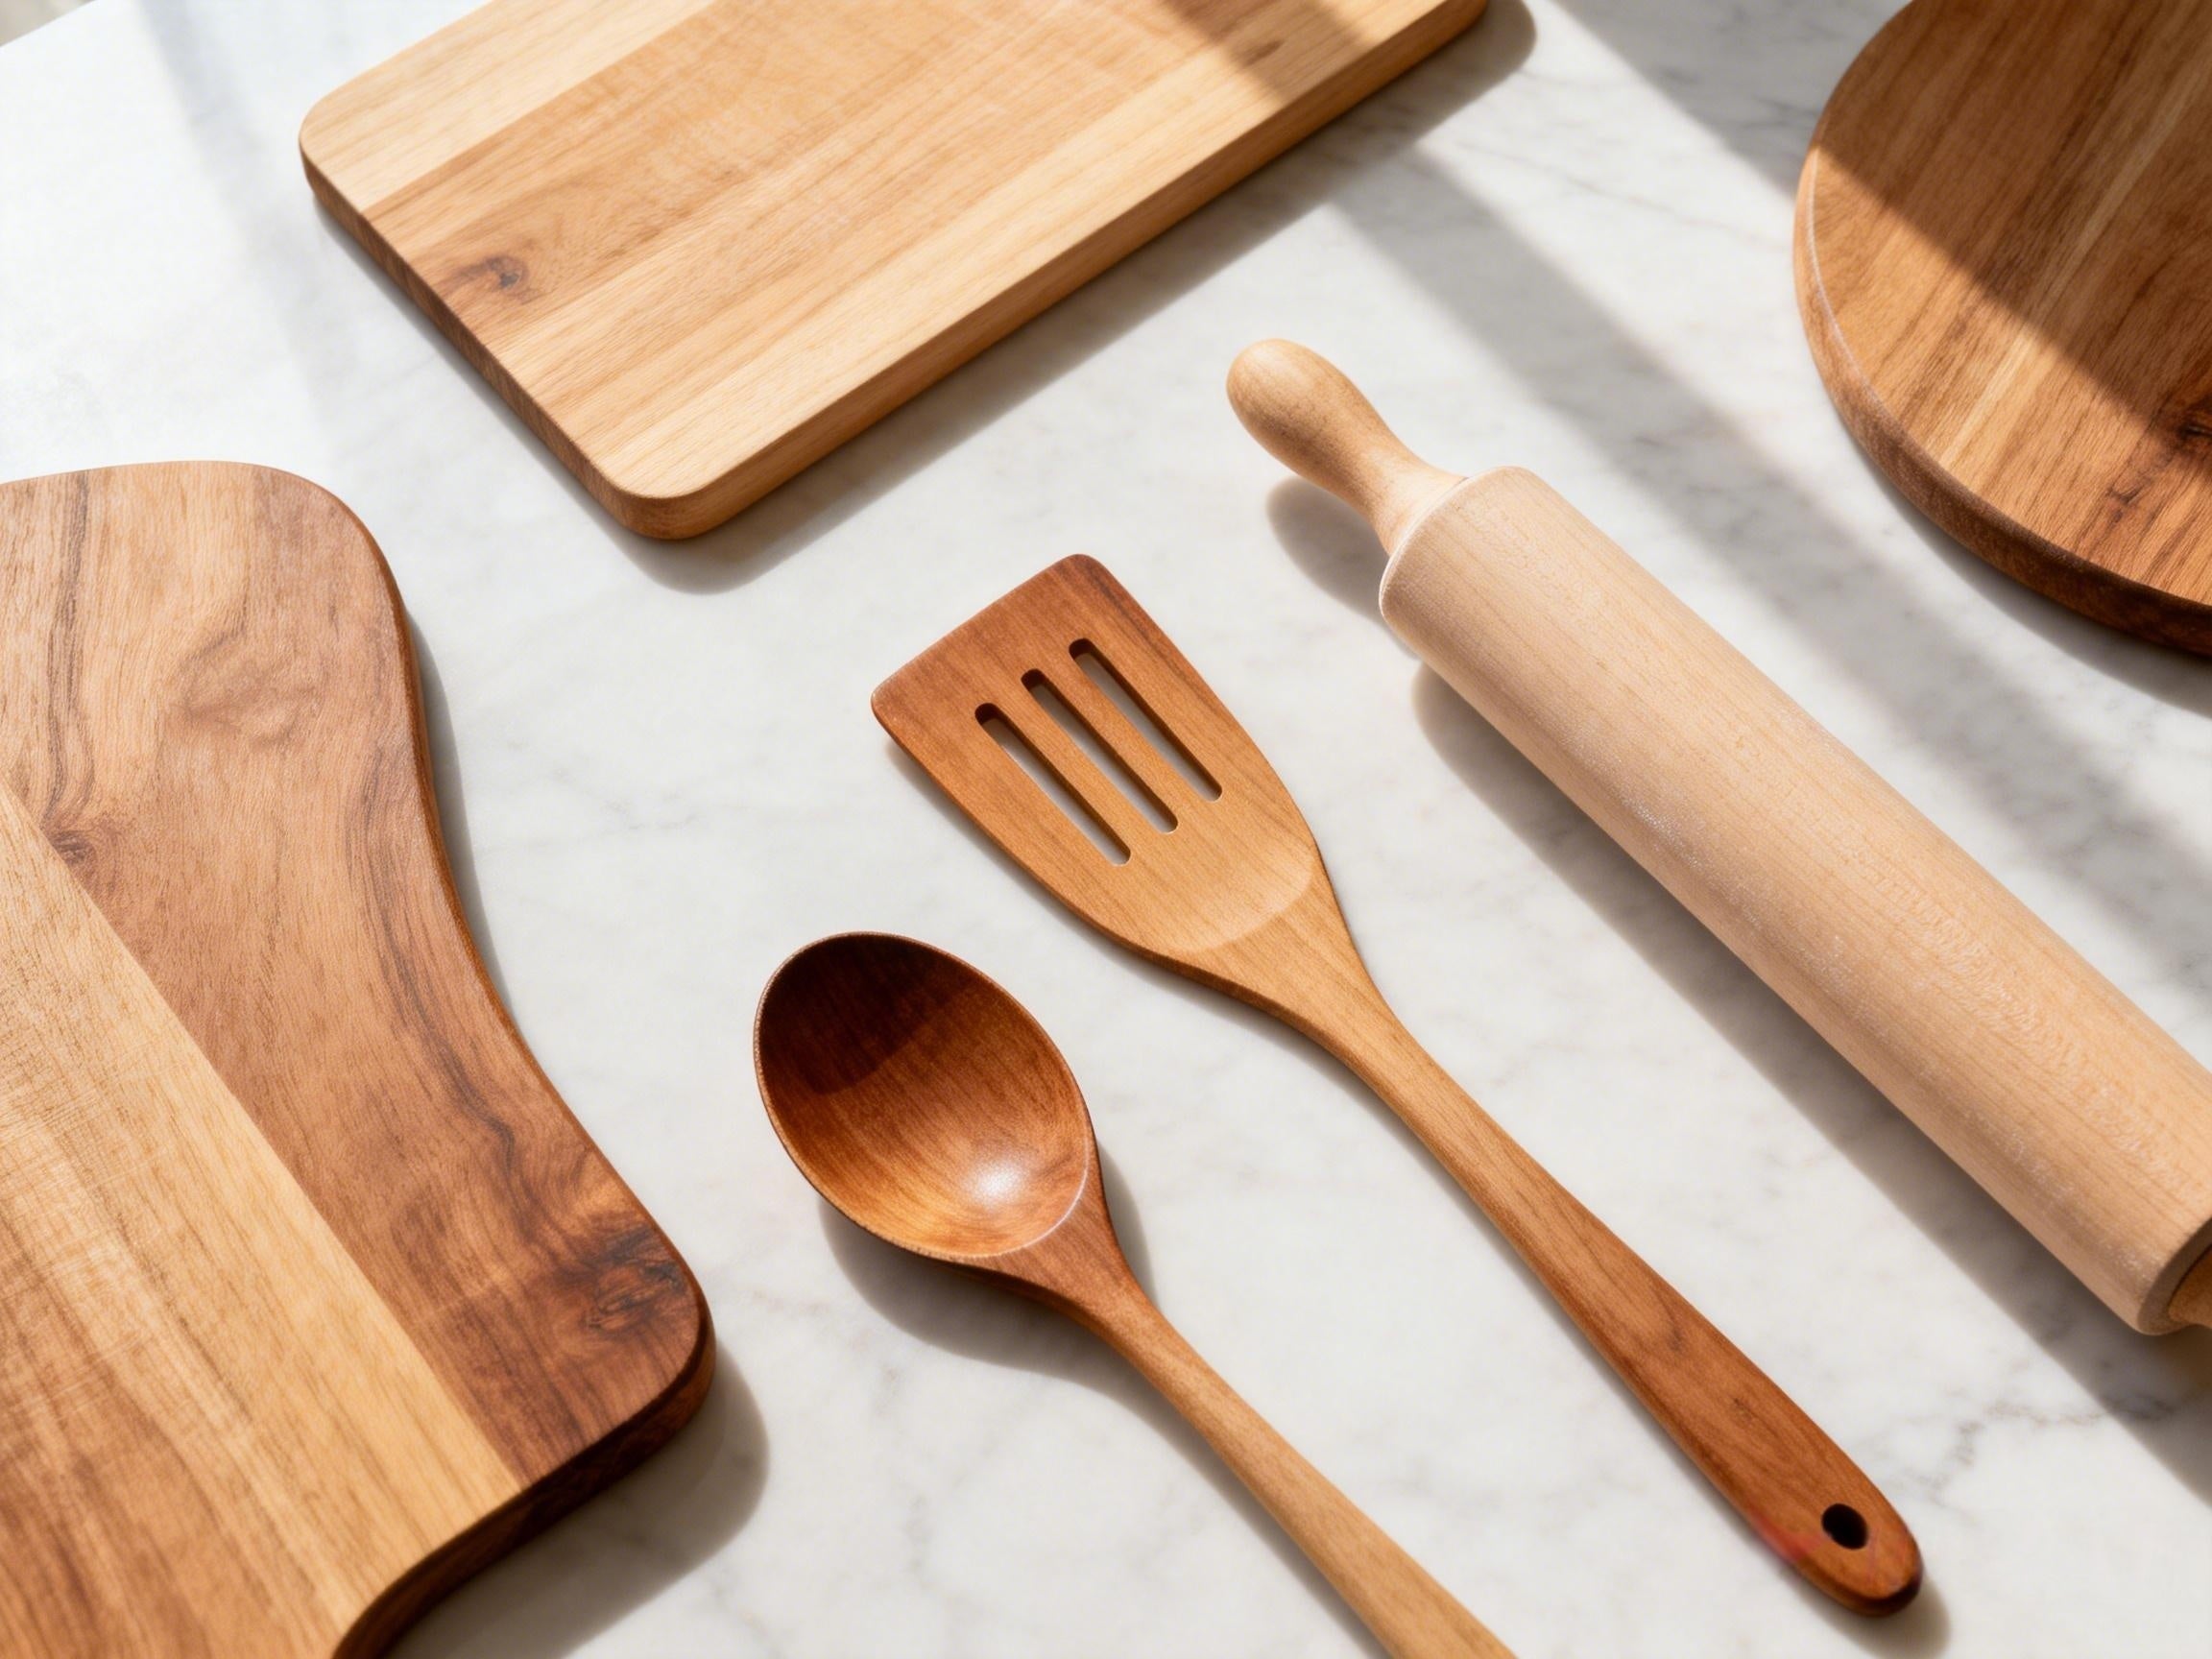
Wooden kitchen tools are more than simple cooking accessories. From heavy-duty spatulas and handcrafted spoons to solid cutting boards and rolling pins, they bring warmth, balance, and a tactile connection to the culinary arts that synthetic materials simply cannot match. Unlike cold stainless steel or flimsy plastic, wood is a "living" material—it breathes, responds to its environment, and develops a unique character over time.
If you care for wooden kitchen tools properly, they can easily last 10–20 years or more, developing a rich, beautiful patina that tells the story of countless family meals. However, wood is also sensitive. Neglect it, and it may crack, warp, or absorb unwanted odors within just a few months. This comprehensive guide will walk you through everything you need to know to clean, oil, store, and restore your wooden collection, ensuring they remain safe, hygienic, and functional for a lifetime of cooking.
Why Wooden Kitchen Tools Need Special Care: The Science of Wood
To understand how to care for wood, we must first understand its biological structure. Wood is a natural, porous material made of cellulose fibers. Unlike silicone or metal, it remains reactive to heat and moisture even after it has been crafted into a tool.
1. The Porous Structure
Wood fibers contain microscopic channels that originally transported water through the tree. These channels remain in your kitchen tools, meaning they can absorb moisture and liquids. This is why wood is so gentle on your expensive knives and non-stick cookware—it has a "give" that hard materials lack. However, it also means that prolonged exposure to water can lead to deep saturation.
2. The Moisture Balance (Hydration)
Wood needs to stay within a specific internal moisture range (ideally around 8–12%). When wood becomes too wet, the fibers swell, leading to warping. When it becomes too dry (due to arid climates or heat), the fibers shrink and pull apart, causing those dreaded cracks and splits.
3. Surface Protection and Bacteria Resistance
Contrary to popular belief, wood is naturally antimicrobial. Studies have shown that wood fibers can "trap" and suffocate bacteria. However, without proper oiling, the surface becomes dry and "thirsty," making it easier for food particles and stains to cling to the grain. Consistent care maintains the wood's natural defensive barrier.

Common Mistakes That Ruin Wooden Kitchen Tools
Many high-quality wooden tools fail early—not because of poor craftsmanship, but because of a few common, avoidable mistakes. If you want your tools to last, you must avoid the following:
-
❌ The Dishwasher (The #1 Killer): Never, under any circumstances, put wood in the dishwasher. The combination of high-heat drying cycles and prolonged water exposure will cause even the strongest hardwood to warp, crack, and lose its natural oils in a single cycle.
-
❌ Prolonged Soaking: Leaving wooden spoons in a sink full of water for 20 minutes causes the wood to over-saturate. This creates internal stress that leads to structural failure.
-
❌ Using Rancid Plant-Based Oils: While it’s tempting to use olive or vegetable oil from your pantry, these are "drying oils" that will eventually oxidize, turning sticky and smelling sour (rancid).
-
❌ Extreme Heat Exposure: Storing your boards near a radiator, directly next to the oven, or in harsh sunlight will dry out the wood unevenly, leading to "checking" (small surface cracks).
How to Clean Wooden Kitchen Tools (Step-by-Step)
Cleaning wooden tools is simple, but the technique is vital to maintaining the integrity of the grain.
Step 1: Clean Immediately After Use
The longer food sits on the wood, the more likely it is to stain or leave odors. Use warm (not hot) water and a mild dish soap. Avoid harsh chemical cleaners or bleaches, which can strip the wood’s natural lignin.
Step 2: Gentle Scrubbing
Use a soft sponge or a nylon brush. Always scrub in the direction of the wood grain to avoid lifting fibers. Avoid steel wool, which can leave tiny metal fragments behind and scratch the surface.
Step 3: Rinse and Dry Thoroughly
Rinse quickly under running water—never submerge. After rinsing, pat the tool dry with a clean towel to remove surface moisture. Crucial: Always let wooden tools air-dry in an upright position or on an edge. Drying them flat can trap moisture underneath, leading to mold growth.
Optional: Natural Deodorizing and Stain Removal
If you’ve been chopping garlic or onions, your board might retain a scent.
-
Sprinkle a generous amount of coarse sea salt over the surface.
-
Take half a lemon and rub it vigorously into the salt.
-
The acidity of the lemon kills bacteria, while the salt acts as a gentle abrasive to lift stains.

The Art of Oiling: How to Hydrate Your Wood
Oiling is the single most important maintenance task for wooden kitchenware. It fills the pores, creates a hydrophobic (water-repelling) barrier, and keeps the fibers supple.
How Often Should You Oil?
-
Light home use: Once every 3–4 weeks.
-
Frequent daily cooking: Every 1–2 weeks.
-
Dry/Winter climates: Increase frequency as the air dries out.
Signs Your Tools Need Oil
If the wood looks dull or "chalky," feels rough to the touch, or if water no longer "beads" on the surface but soaks in immediately, it is time for a treatment.
The Best Choice: Food-Grade Mineral Oil vs. Beeswax
Food-grade mineral oil is the industry standard because it is tasteless, odorless, and will never go rancid. For a premium finish, we recommend a Mineral Oil & Beeswax Blend. The beeswax adds an extra layer of physical protection and a beautiful, soft sheen that makes the wood look like new.
Detailed Restoration: Reviving Neglected Wood
Even if your favorite wooden spoon looks gray and feels rough, it can usually be saved. Restoration is a rewarding process:
-
Deep Clean: Wash the tool and let it dry for 24 hours.
-
Sanding: Use fine-grit sandpaper (220 to 320 grit). Lightly sand the entire surface, working strictly with the grain, until the gray, oxidized layer is gone and the fresh wood is revealed.
-
Dust Removal: Wipe away all dust with a tack cloth or a slightly damp paper towel.
-
Heavy Oiling: Apply a very generous layer of mineral oil. Let it soak in for at least 8 hours. If the wood "drinks" it all up, apply a second coat.
-
Seal: Finish with a wood conditioner or beeswax to lock in the moisture.

Frequently Asked Questions (FAQ)
Q: Can I use coconut oil to season my boards? A: Only if it is "fractionated" coconut oil (which has the long-chain fatty acids removed so it won't go rancid). Regular grocery-store coconut oil will eventually spoil and smell.
Q: Why is my wooden spoon feeling "fuzzy" after washing? A: This is called "raising the grain." It happens when water causes the cut ends of the wood fibers to stand up. A quick light sanding with 400-grit sandpaper followed by oiling will fix this permanently.
Q: When is it time to throw a wooden tool away? A: If the wood has a deep crack that goes all the way through (where food particles can get stuck and rot), or if you see visible black mold that has penetrated deep into the fibers, it is time to replace it.

Why High-Quality Wood Is a Lifetime Investment
In a world of disposable plastic, high-quality wooden kitchen tools are a statement of sustainability. They are gentler on your knives (keeping them sharper longer), they don't leach chemicals into hot food, and they are carbon-sequestering natural products. When you invest in a premium set, you aren't just buying a spoon—you're buying a companion for your culinary journey.
👉 Explore our Kitchen Tools Collection, including our artisan-crafted Wooden Utensil Sets and Solid Hardwood Cutting Boards, designed for professional performance and decades of durability.
Final Thoughts
Caring for wooden kitchen tools isn’t a chore; it’s a ritual that honors the materials and the food you prepare. A few minutes of attention each month will keep your kitchen beautiful, safe, and ready for the next twenty years of cooking.

