
Cart
0
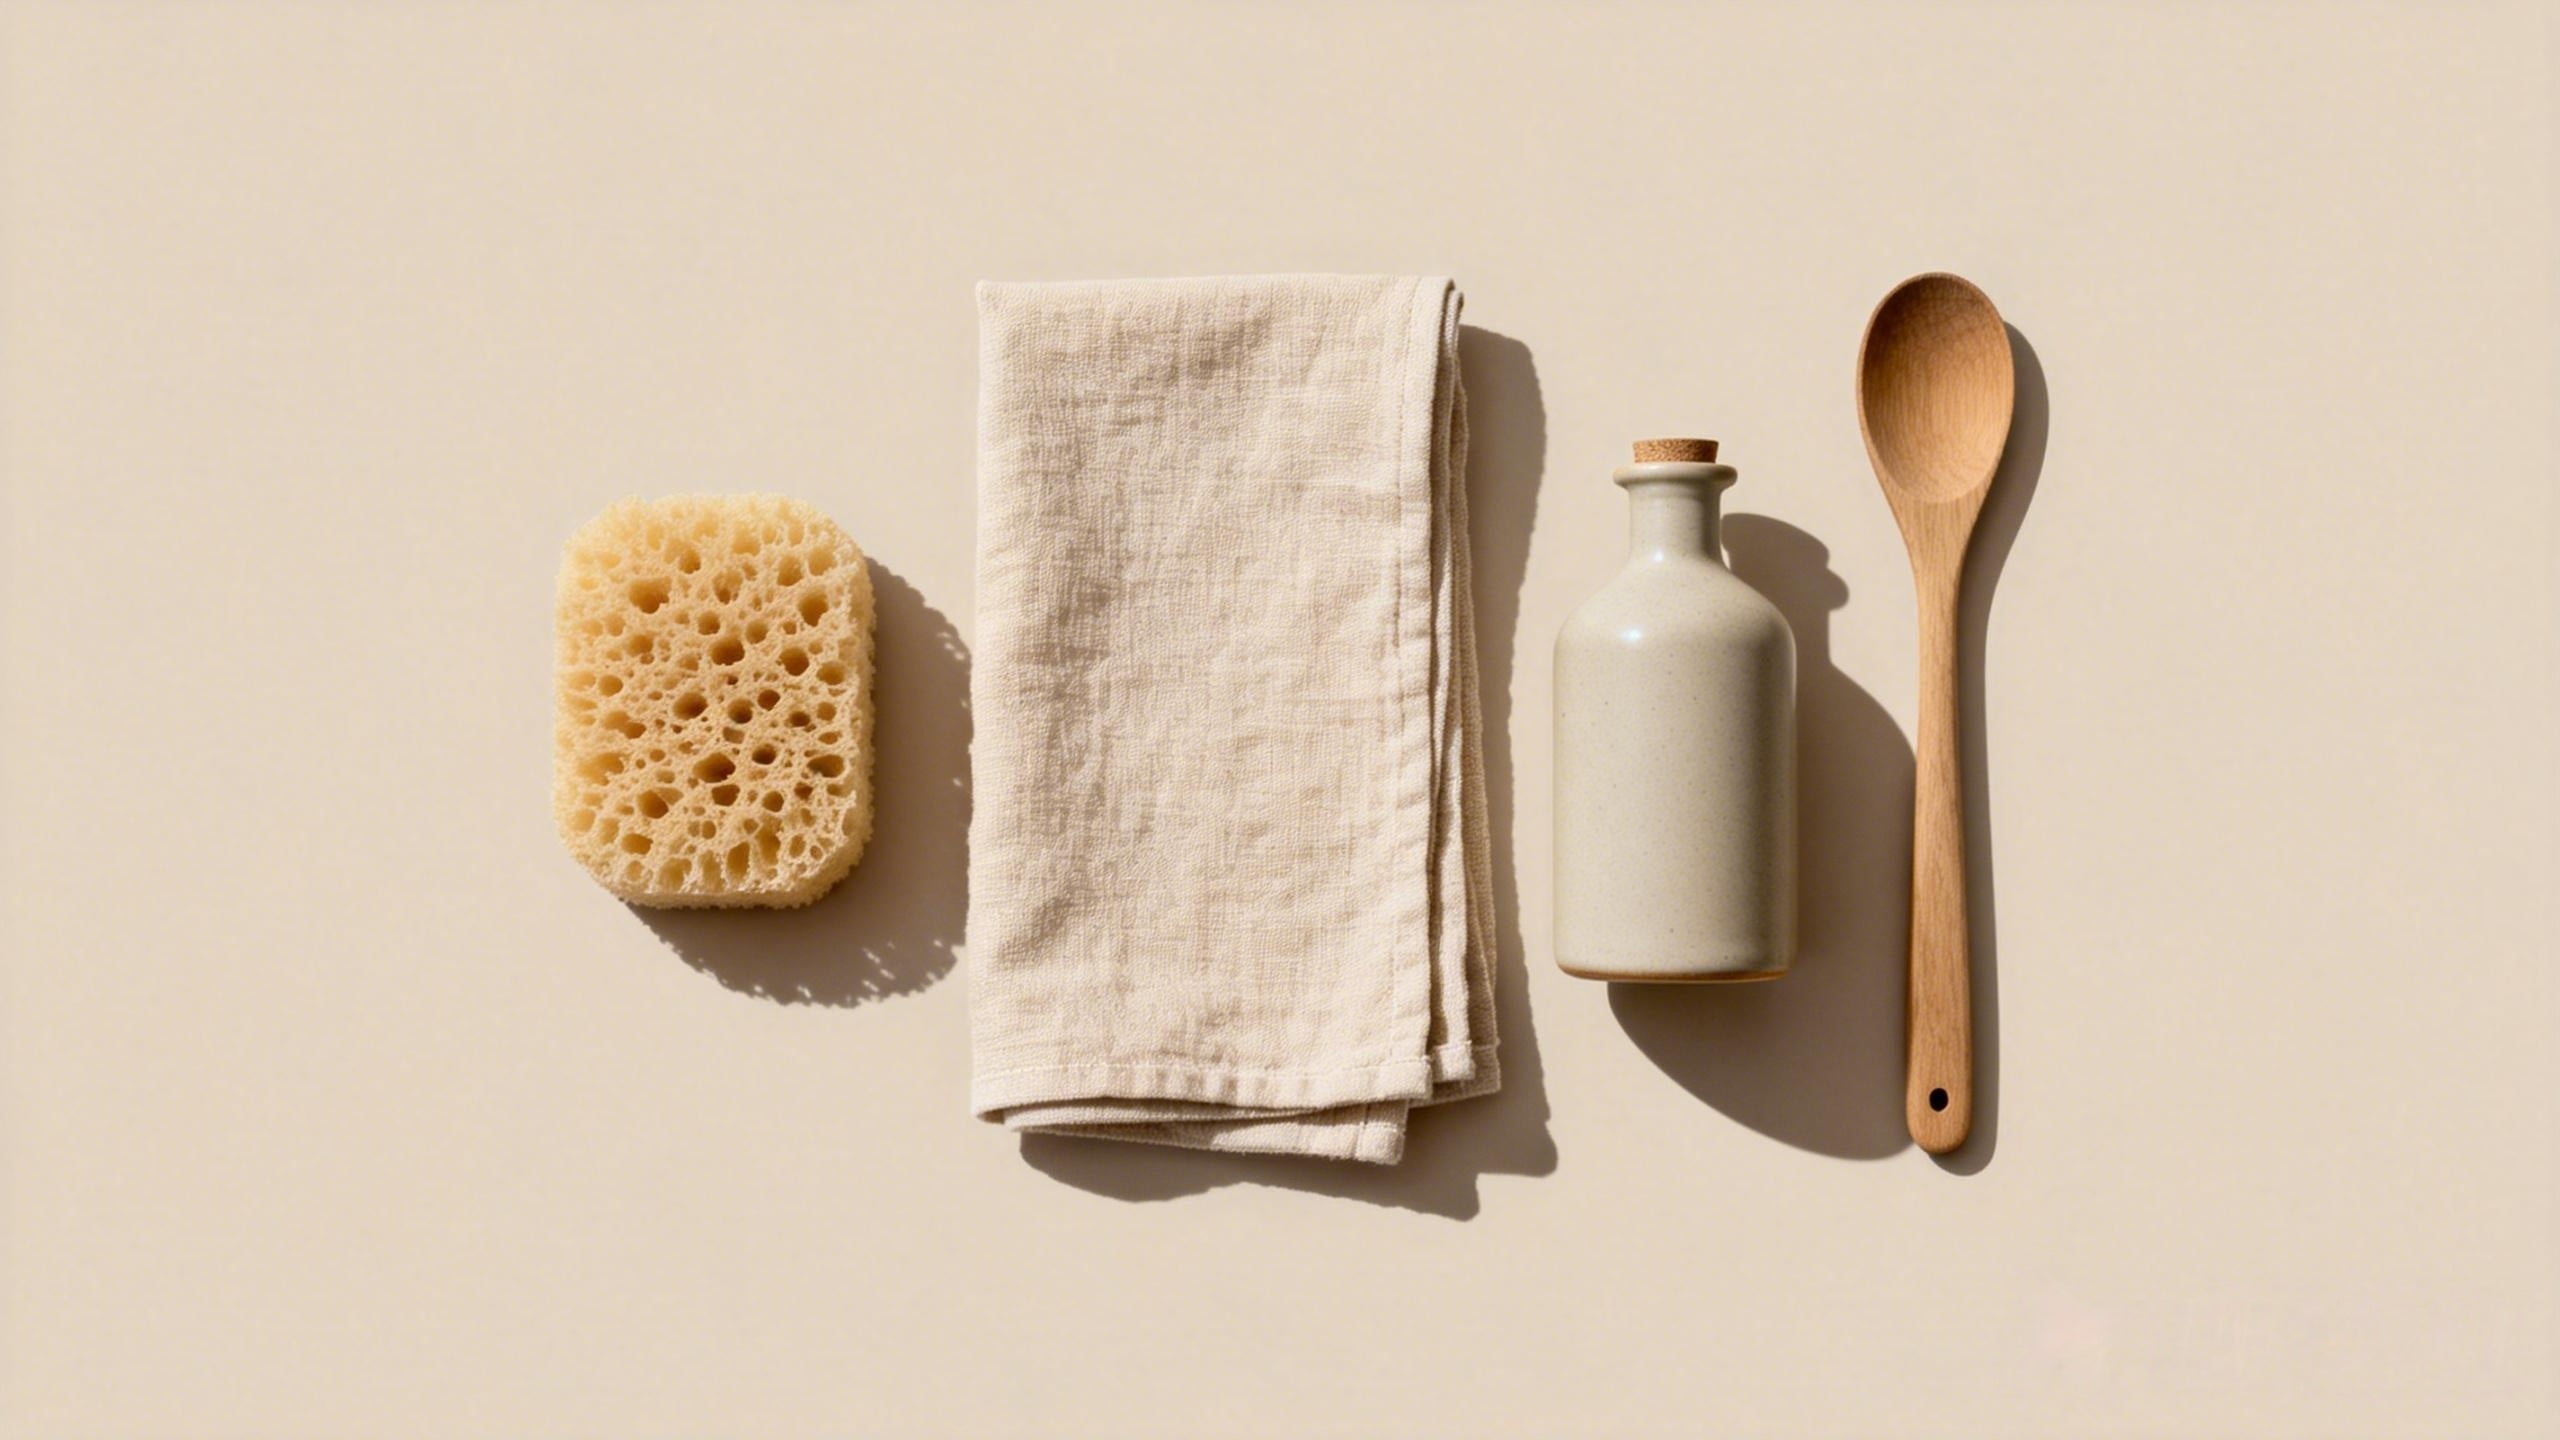
Wooden kitchenware is loved for its organic warmth, professional durability, and natural feel—but these qualities only shine when the material is cared for properly. Unlike synthetic plastic or cold metal, wood is a "reactive" material that responds to moisture, heat, and time.
The good news? You don't need expensive equipment to protect your investment. A few simple, intentional habits can extend the life of your wooden utensils, cutting boards, bowls, and serving pieces for years—sometimes even decades. This guide breaks down wooden kitchenware care into clear, comprehensive checklists that cover everything from daily rinsing to long-term restoration.

Understanding the "Soul" of Wood
Before we dive into the checklists, it is important to understand why wood requires a different approach than other kitchen materials. Wood is composed of cellulose fibers that once transported water through a living tree. Even as a finished spoon or board, these fibers remain "thirsty."
-
Capillary Action: If left in water, wood will pull moisture deep into its core, causing the fibers to swell and eventually pull apart (cracking).
-
The Protective Barrier: Proper oiling creates a physical shield that keeps food particles out and natural moisture in.
✅ Daily Cleaning Checklist: The "Hand-Wash Only" Rule
Cleaning is where most wooden tools are either saved or ruined. Follow these steps after every meal:
-
☐ Hand-Wash Only: This is the golden rule. The high heat and intense water pressure of a dishwasher will destroy wood in a single cycle.
-
☐ Use Mild Soap: A gentle dish soap is all you need. Avoid harsh degreasers or bleach, which strip the wood's natural lignin.
-
☐ Clean Immediately: Don’t let acidic food residue (like tomato sauce or citrus) sit on the surface, as it can etch the wood.
-
☐ Soft Sponge Only: Use a non-abrasive cloth or sponge. Avoid steel wool, which creates micro-scratches where bacteria can hide.
-
☐ Quick Rinse: Rinse under running water and move to the drying phase immediately. Never submerge wood in a sink.
✅ Drying Checklist: Preventing Warp and Mold
How you dry your wood is just as important as how you wash it. Moisture is the primary enemy of structural integrity.
-
☐ Towel Dry Immediately: Use a clean, dry cloth to remove bulk surface moisture right after rinsing.
-
☐ Air-Dry Upright: Never lay a wet board flat on a countertop. This traps moisture underneath, leading to mold. Stand items upright in a drying rack or on their edge.
-
☐ Even Airflow: Ensure all sides of the utensil or board are exposed to air so they dry at the same rate.
-
☐ Avoid Heat Sources: Do not place wet wood near a heater, oven vent, or in direct sunlight to speed up drying. Uneven heat causes rapid contraction and "checking" (small cracks).

✅ Monthly Oiling Checklist: Deep Hydration
Think of oiling as "lotion" for your wood. It keeps the material supple and prevents it from becoming brittle.
-
☐ Frequency: Once a month (or whenever the wood looks pale/chalky).
-
☐ Best Materials: Use food-grade mineral oil or a specialized wood conditioner (beeswax blend).
-
☐ Application: Apply a generous amount with a lint-free cloth. Massage it into the grain until the wood stops "drinking" the oil.
-
☐ The Rest Period: Let the oil soak in for at least 4–8 hours (overnight is best).
-
☐ Buffing: Wipe off any excess oil the next morning with a clean paper towel.
✅ Deep Cleaning and Odor Removal Checklist
Sometimes, wood absorbs strong scents like garlic or onions. Use this natural method to refresh your boards every few months:
-
☐ Step 1: Sprinkle coarse sea salt over the dry surface.
-
☐ Step 2: Cut a lemon in half and rub it into the salt in a circular motion. The salt acts as a gentle abrasive, while the lemon juice acts as a natural disinfectant and deodorizer.
-
☐ Step 3: Rinse with warm water and follow the Drying Checklist above.
-
☐ Step 4: Always re-oil after this process, as lemon juice can be drying.
✅ Storage and Maintenance Checklist
-
☐ Ventilation: Store utensils in an open jar or on wall hooks. Avoid cramped, damp drawers.
-
☐ Sanding: If the wood feels "fuzzy" or rough (raised grain), lightly sand it with 320-grit sandpaper when dry, then immediately re-oil.
-
☐ Inspection: Check for deep cracks. If a crack goes more than halfway through a board used for raw meat, it’s time to retire it for safety reasons.
Frequently Asked Questions (FAQ)
Q: Can I use olive oil or vegetable oil to season my wood? A: No. Cooking oils are organic fats that will eventually go rancid. They will turn sticky, smell sour, and can contaminate your food. Stick to food-grade mineral oil.
Q: Why is my wooden board warping? A: Warping usually happens when one side of the wood dries faster than the other (like laying it flat on a wet counter). You can often "fix" a slight warp by wetting the board again and letting it dry upright in a well-ventilated area.
Q: Is wood hygienic for raw meat? A: Yes. Science shows that wood's porous structure "wicks" bacteria away from the surface and traps it inside the fibers where it dies. However, always wash thoroughly with soap and warm water after meat prep.
Why Proper Care Matters
A well-maintained wooden tool is a sustainable choice that reduces household waste. Wood doesn't wear out—it ages. It develops a beautiful natural patina and a smooth "broken-in" feel that makes cooking more enjoyable. By following these simple checklists, you are protecting a piece of nature that will serve your kitchen for a lifetime.
👉 [Explore our Artisan Wood Care Collection] 👉 [Shop Sustainable Wooden Kitchenware by Oakory]


